bikeman71
New member
- Joined
- Feb 20, 2014
- Messages
- 88
- Thread Author
- #1
I knew that Vicoustic Panels were the look I was going for, but gluing to the wall wasn't the answer for me. I wanted to hang them like a picture. The following is one way to make this happen...
For my application, I wanted two panels hung together to make a larger 2'x4' panel....
I started with a 19"x42" piece of 1/8" plywood - finished on both sides. It's important to recognize that the foam on the back of the panel slopes in and the plywood should be cut to fit the back of the panel. If using the front dimensions, your plywood will stick out and look messy.

Next, I spray painted the edges of the plywood black to help them blend with the black foam.

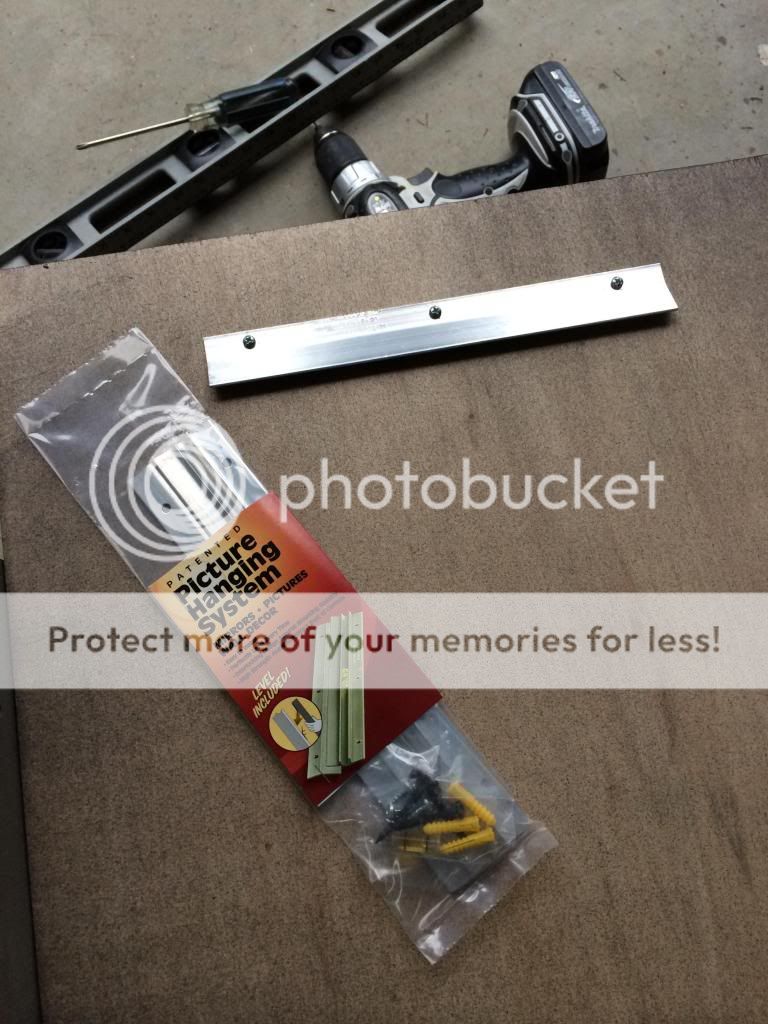
I used "Z Bracket" hangers as the way to attach them to the wall. The Z Brackets are a slim mount and allow for a generous amount of sliding that allow you to get the panels perfectly placed during final installation. Here, one of the brackets has been attached to the plywood.
Now it's time to start gluing the Vicoustic Panels to the plywood. I used Auralex Foamtak spray adhesive. I bought it at my local Guitar Center and it's made for acoustic foam applications.

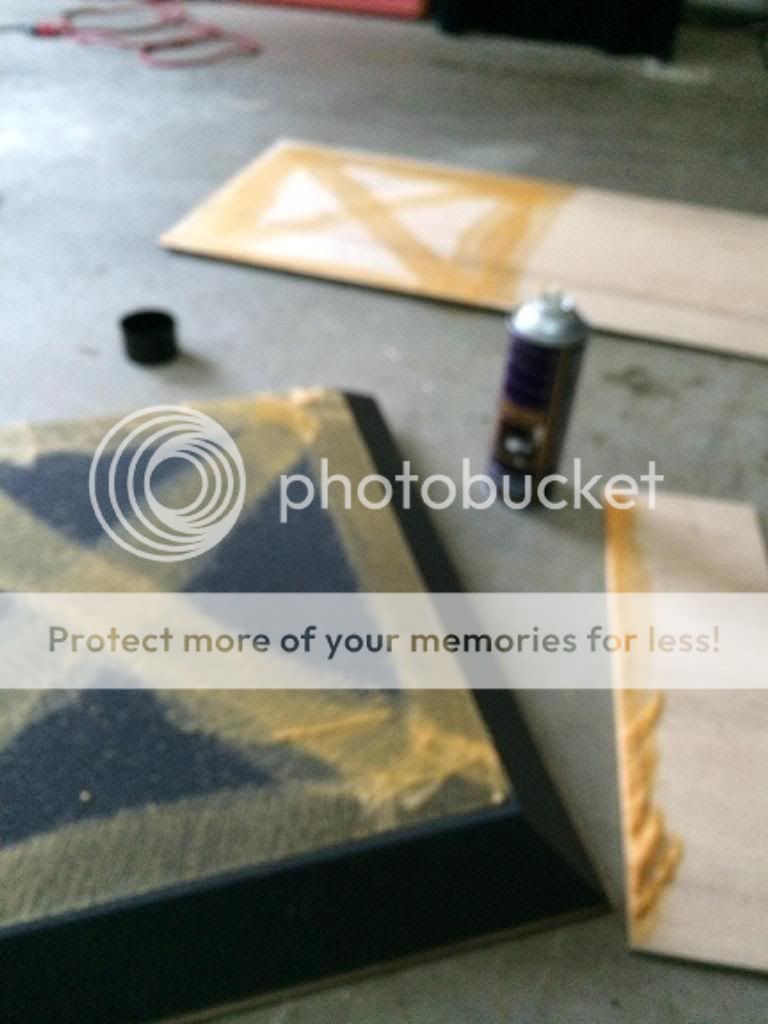
Here, you can see the recommended application of glue. All around the perimeter and an "X" running through the middle. Notice the scrap piece of plywood I used to shield the glue from getting everywhere during application. A neat end-result is mandatory! Please excuse the terrible picture here....
Next, mount the second part of the Z Bracket to the wall. Notice, I only used the center screw of the mount. The panels are so light that one screw is more than enough, and because, even a dead-level mount can sometimes look out of level because of the things around it, using only the center screw will allow you to fine tune for a perfect look after mounting the panels.

Finally, after allowing the glue to dry with some weight applied to the panels, it's time to hang them on the wall. Why glue these things directly to the wall when an extra $20 and an hour of your time allows you to fine tune them in the current application and remove them altogether without damage to the foam or the drywall if needed?

For my application, I wanted two panels hung together to make a larger 2'x4' panel....
I started with a 19"x42" piece of 1/8" plywood - finished on both sides. It's important to recognize that the foam on the back of the panel slopes in and the plywood should be cut to fit the back of the panel. If using the front dimensions, your plywood will stick out and look messy.

Next, I spray painted the edges of the plywood black to help them blend with the black foam.

I used "Z Bracket" hangers as the way to attach them to the wall. The Z Brackets are a slim mount and allow for a generous amount of sliding that allow you to get the panels perfectly placed during final installation. Here, one of the brackets has been attached to the plywood.

Now it's time to start gluing the Vicoustic Panels to the plywood. I used Auralex Foamtak spray adhesive. I bought it at my local Guitar Center and it's made for acoustic foam applications.

Here, you can see the recommended application of glue. All around the perimeter and an "X" running through the middle. Notice the scrap piece of plywood I used to shield the glue from getting everywhere during application. A neat end-result is mandatory! Please excuse the terrible picture here....

Next, mount the second part of the Z Bracket to the wall. Notice, I only used the center screw of the mount. The panels are so light that one screw is more than enough, and because, even a dead-level mount can sometimes look out of level because of the things around it, using only the center screw will allow you to fine tune for a perfect look after mounting the panels.

Finally, after allowing the glue to dry with some weight applied to the panels, it's time to hang them on the wall. Why glue these things directly to the wall when an extra $20 and an hour of your time allows you to fine tune them in the current application and remove them altogether without damage to the foam or the drywall if needed?
